Add Team Members
It is straightforward to add team members. Just follow the steps below.
- Navigate to the Team page.
- Click on the Invite New User button to navigate to the Invite New User page.
- Fill in first name, last name and email address of your new team member. The email address should be on the same domain as yours. If your email address is john.doe@example.com then your other team members should also have their email address on example.com domain. Email address provided should not be an existing user on TechScore for yours or any other team. Each work email can be used to add only one user on TechScore.
Pro Tip
Our Enterprise plans allows multiple email domains for diverse teams. If you need to add users from different domains, consider singing up for Enterprise plan. Contact support for more details.
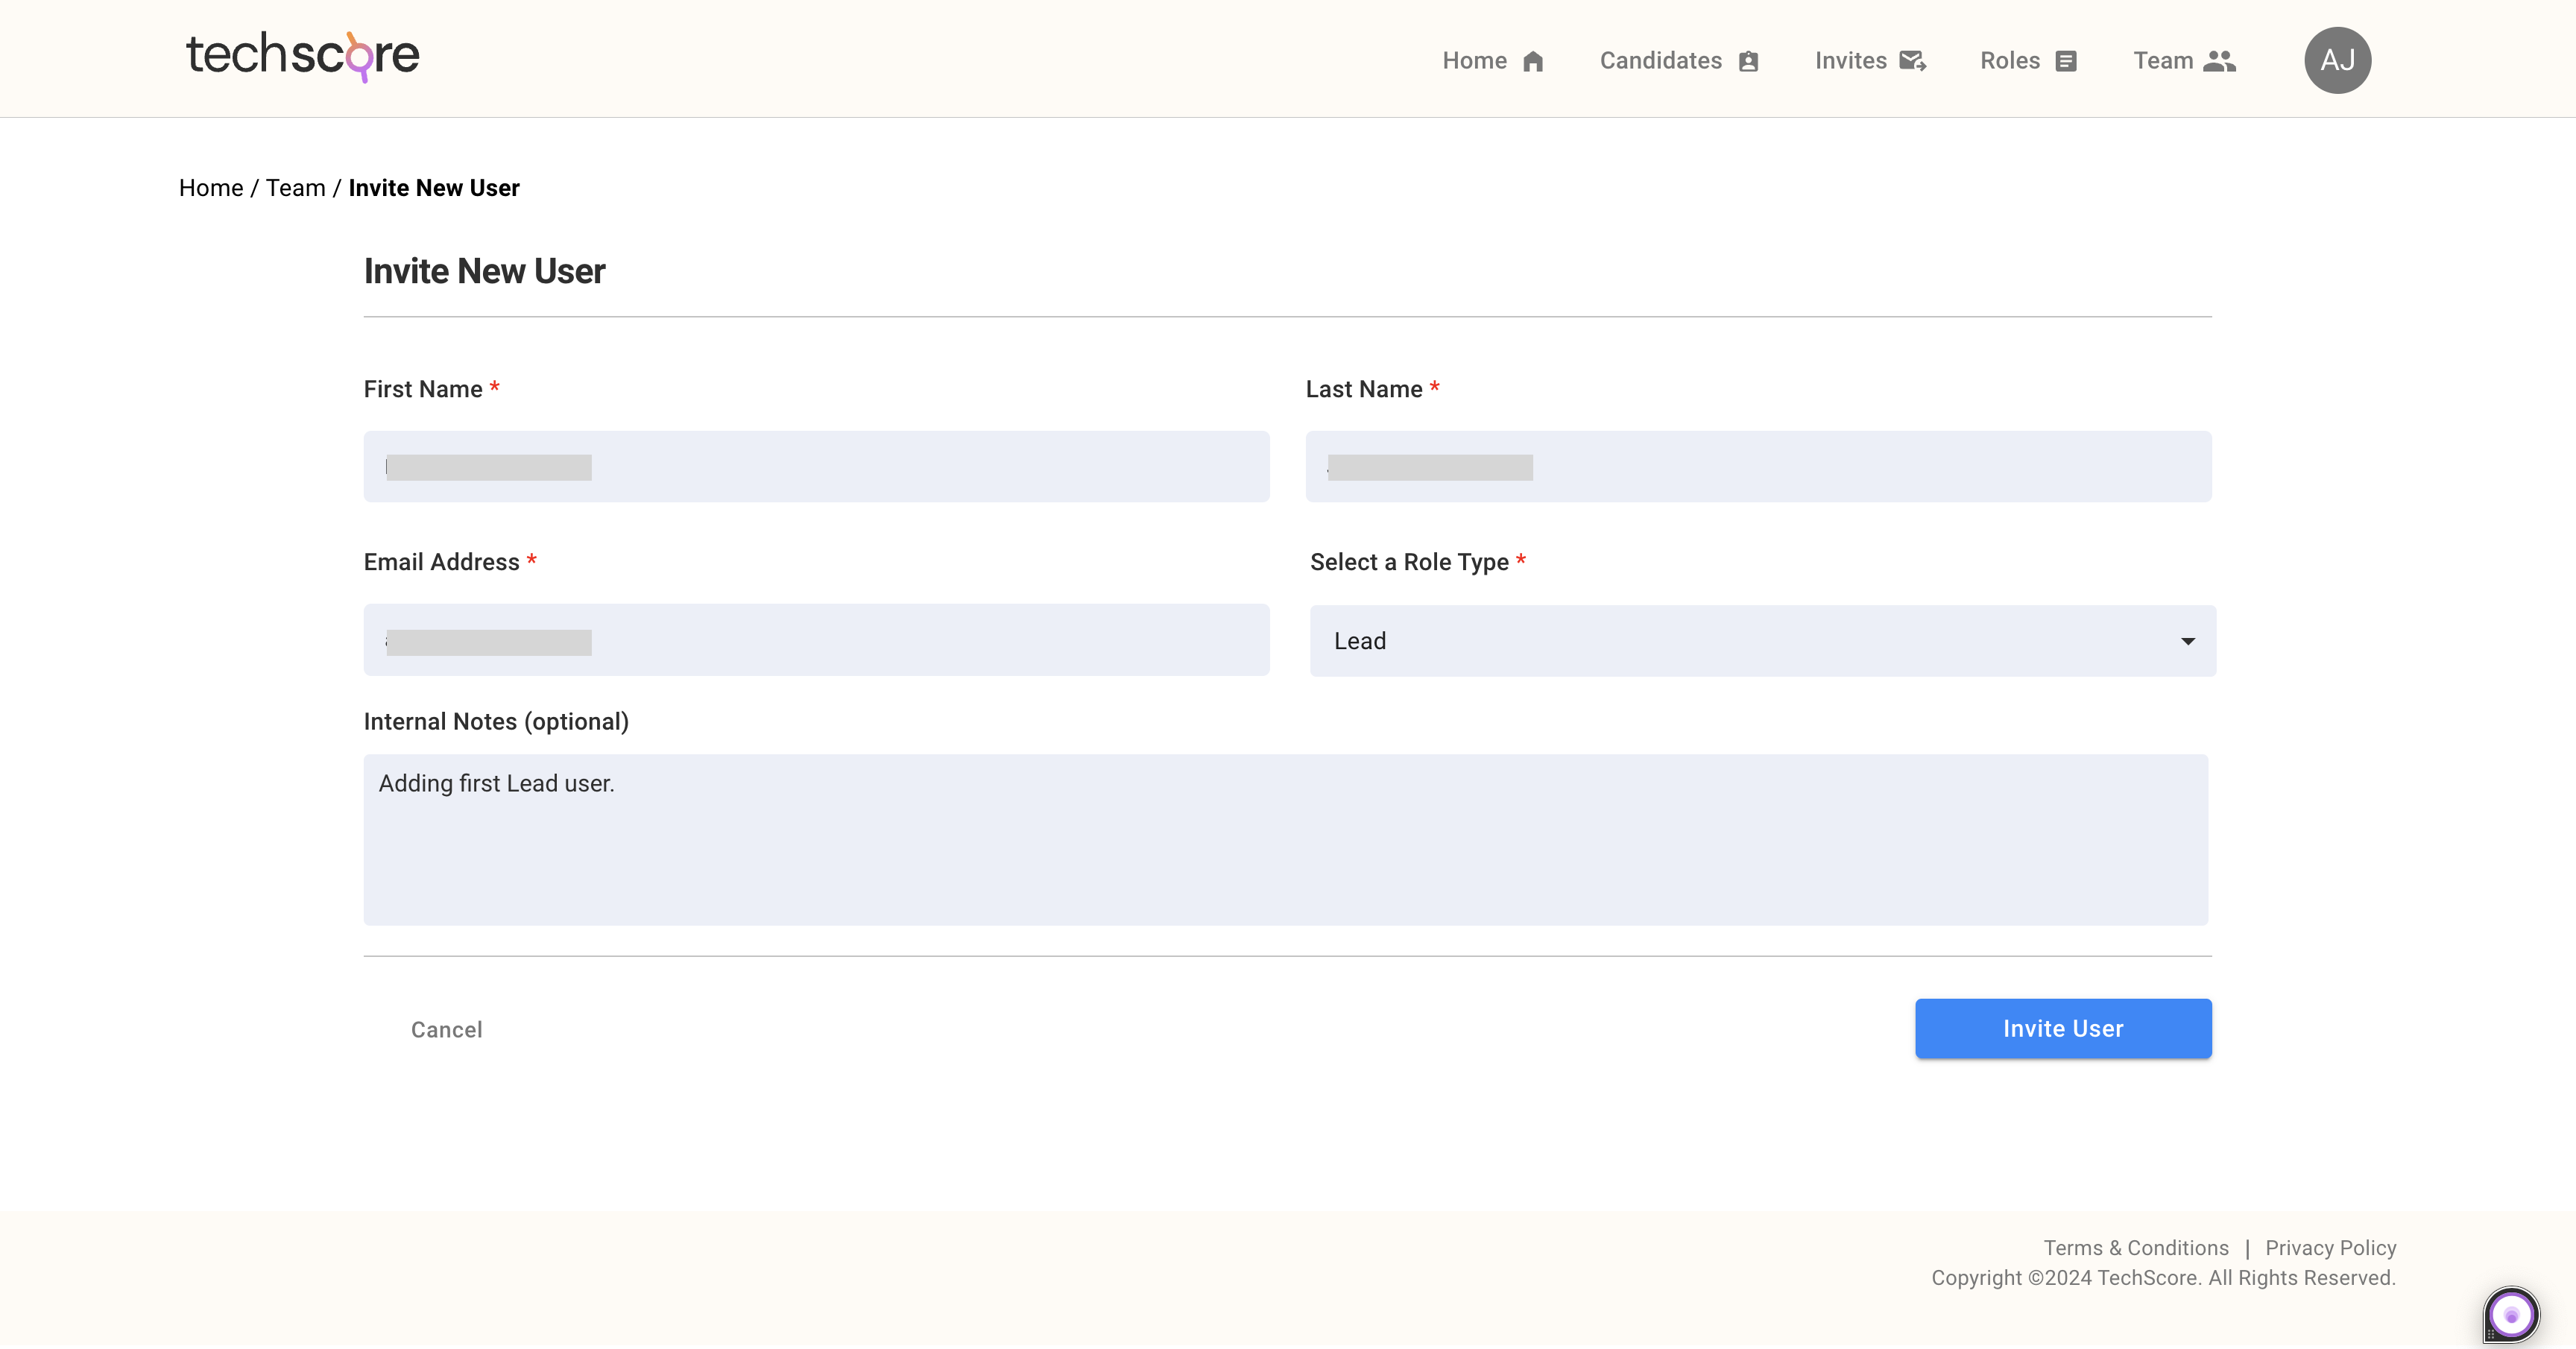
- Select a role type from Select a Role Type dropdown. Your options are Lead and Contributor. Lead users have more priviledges compared to Contributor users. For example, Lead users can invite other users and create new job roles.
- Add any optional internal notes for your team's reference, if needed.
- Click on Invite User. The user will be added to your team with Status showing as Invited.
- The new user will receive an email with a link to verify and create password. Make sure that the email you have used is valid and functional email. In case, they don't see an invitation email titled Invitation to TechScore from no.reply@techscore.ai then they should check their spam, promotional mail and qurantine mail folders.
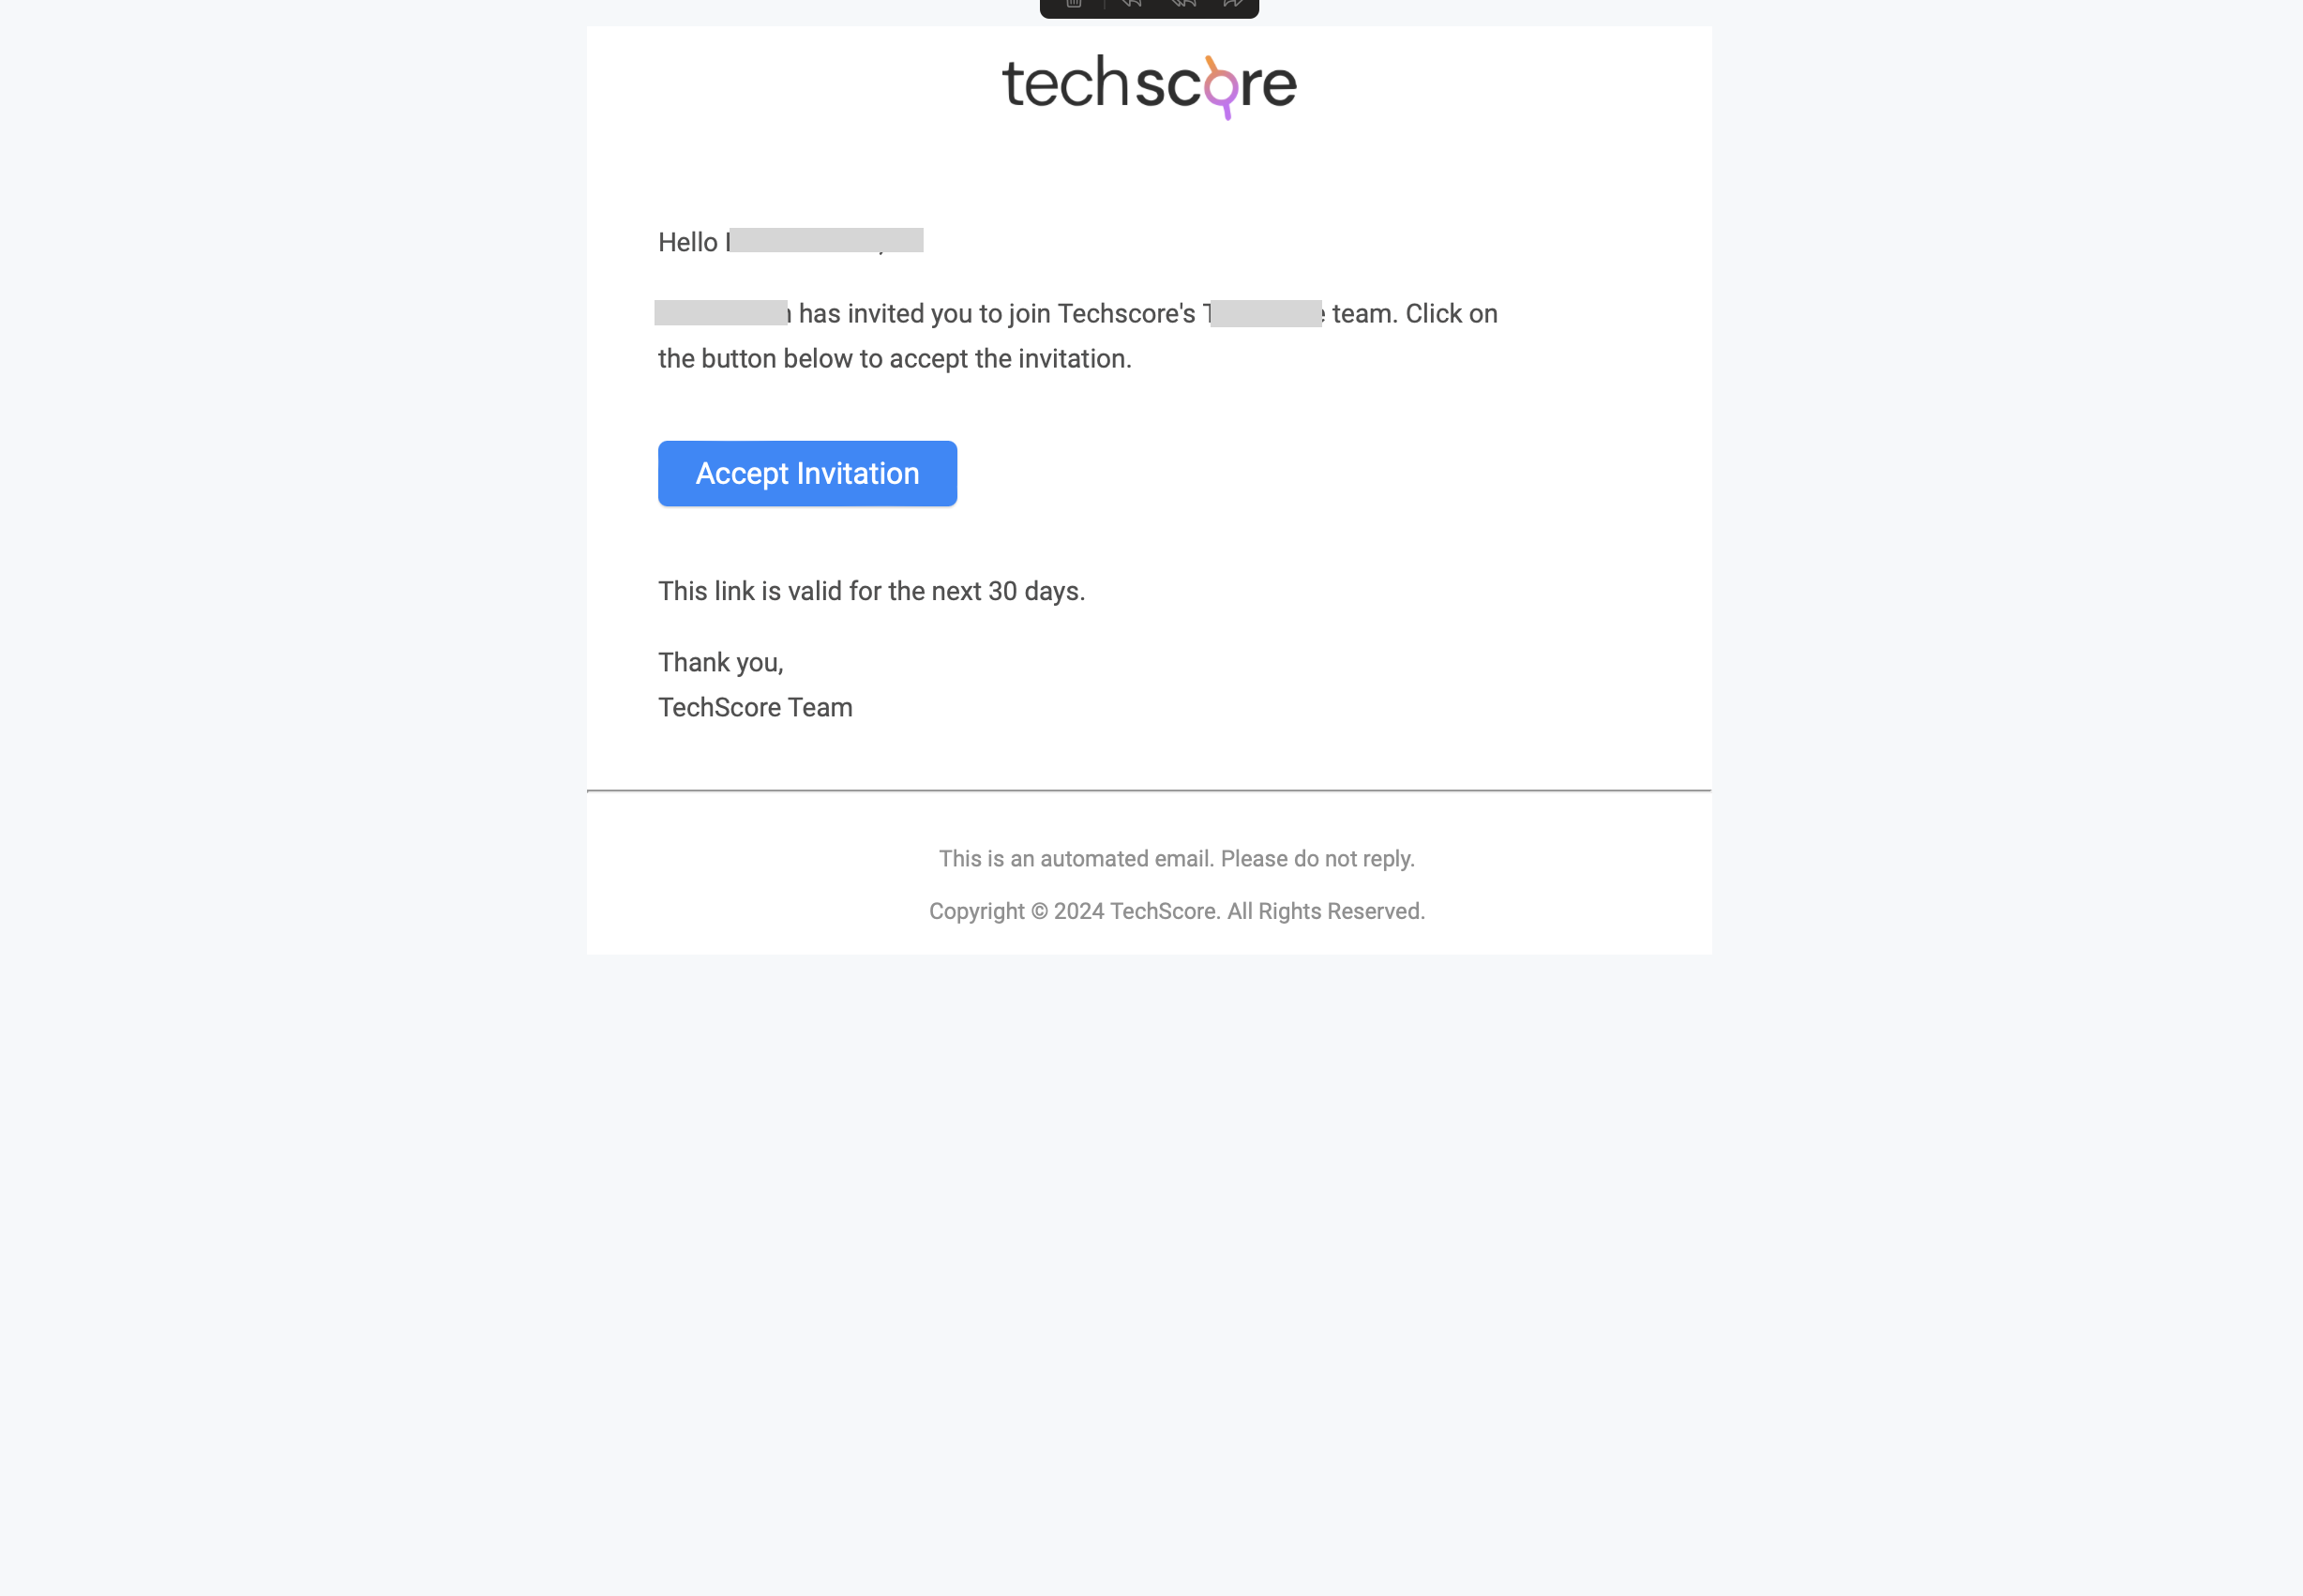
- The new user should click on the Accept Invitation button to activate their account and access TechScore. They will be prompted to create a password.
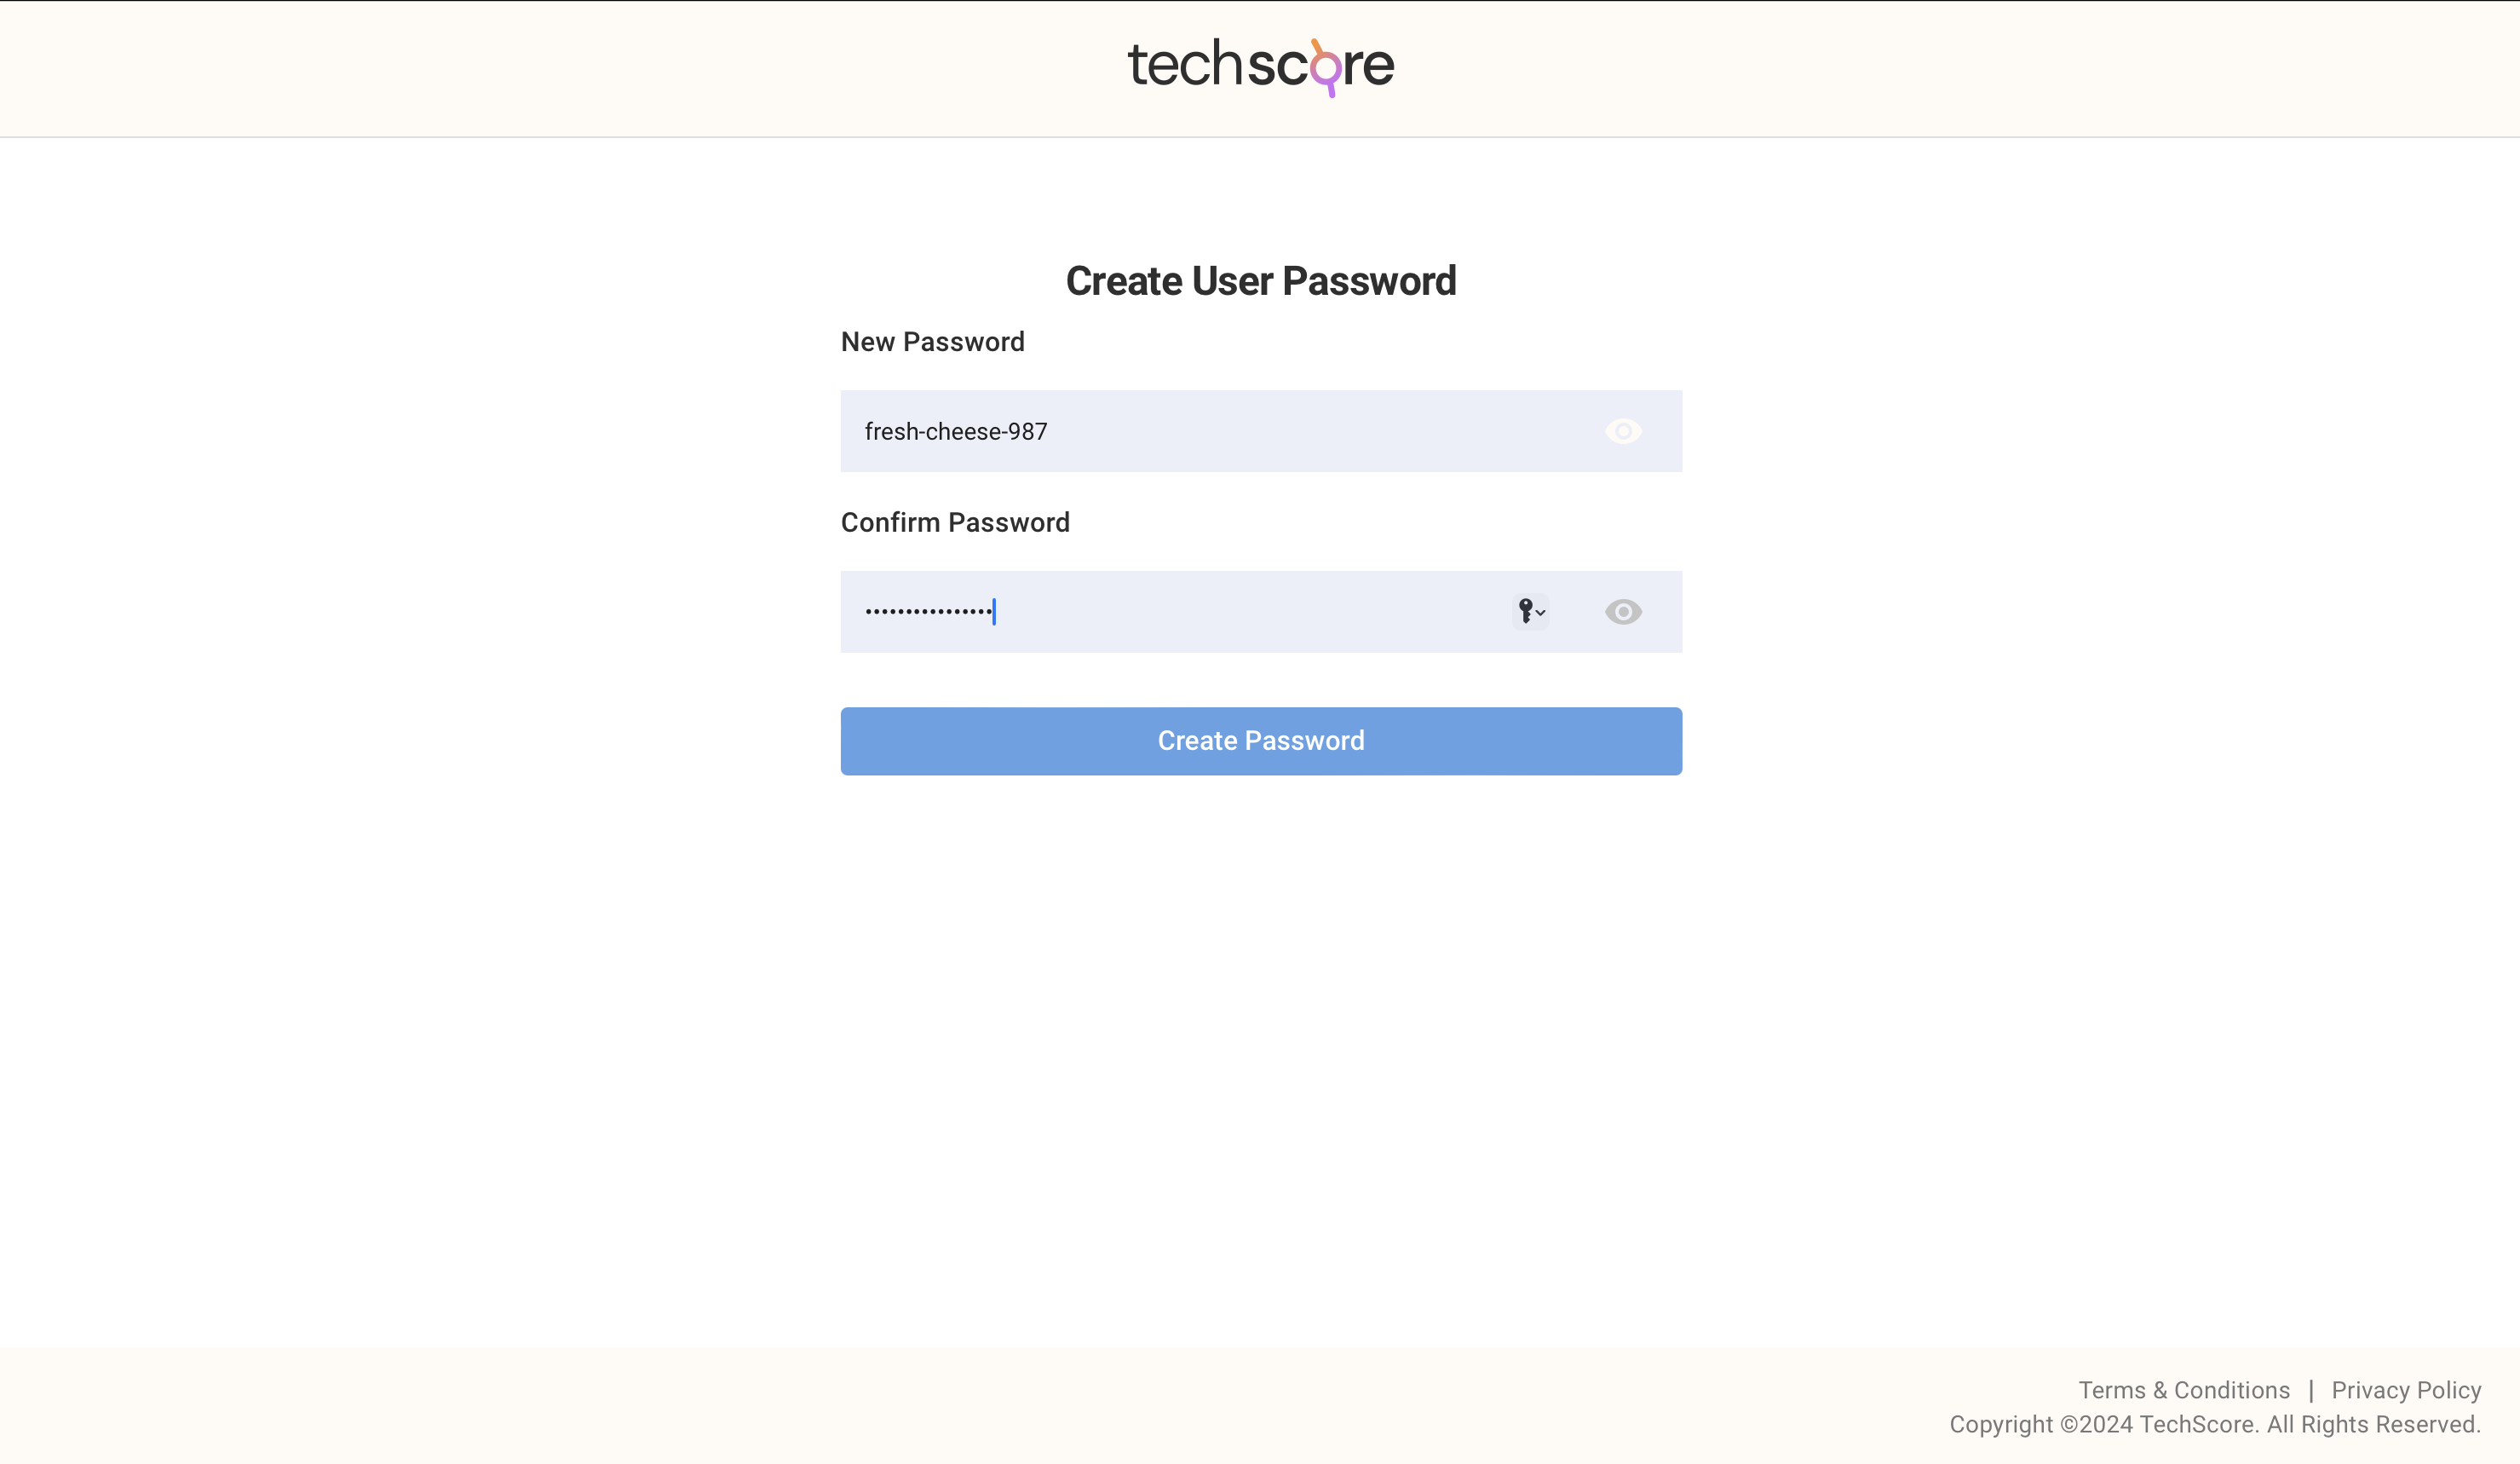
- The new user will be logged in and redirected to the Home page.

- If the new user or you would navigate to the Team page, you will see your updated list of team members.

Both you and your team members can use the on-screen Getting Started stepper to get started with TechScore. A detailed Getting Started guide with screenshots is available in this documentation at Getting Started page.